A fork of EFSAdvent with a more detailed wiki guide is available here: https://github.com/Venomalia/EFSAdvent
Requirements to begin editing:
EFSAdvent v1.2Microsoft .NET framework if you don't already have it
GCTool (By Icarus & Paradox)
GCRebuilder (by BSV)
RARCDump (by Thakis)
An .iso/.gcm of Four Swords Adventures(PAL, US & Japanese versions all work)
A way to play NGC isos/gcms(Modchip, BBA streaming or Dolphin Emulator)
Preparing the game files for editing
- Open your iso/gcm with GCTool.
- From the menus select "ISO"->"Extract whole ISO.."
- Tick the checkbox("Also Extract Header...."), choose the Directory where you want to extract the files then click "Extract".
- Once it's finished extracting, navigate to the extracted root folder and from there to "root\GC4Sword\Boss", the Dirnames may be slightly different depending on your version of the game.
- Drag and Drop any of the bossXXX.arc files you wish to edit onto rarcdump.exe, it will output a folder with "_dir" appended to it.
(The three parts of the first level "Whereabouts of the Wind:" are boss010.arc, boss011.arc & boss013.arc. Level two begins with boss020.arc and so on.. boss012.arc, boss022.arc etc are unused beta levels)
You should now move all of these new, extracted "_dir" folders out of the root folder, otherwise they will get in the way when it comes time to rebuild the disc image.
Opening and editing Map files
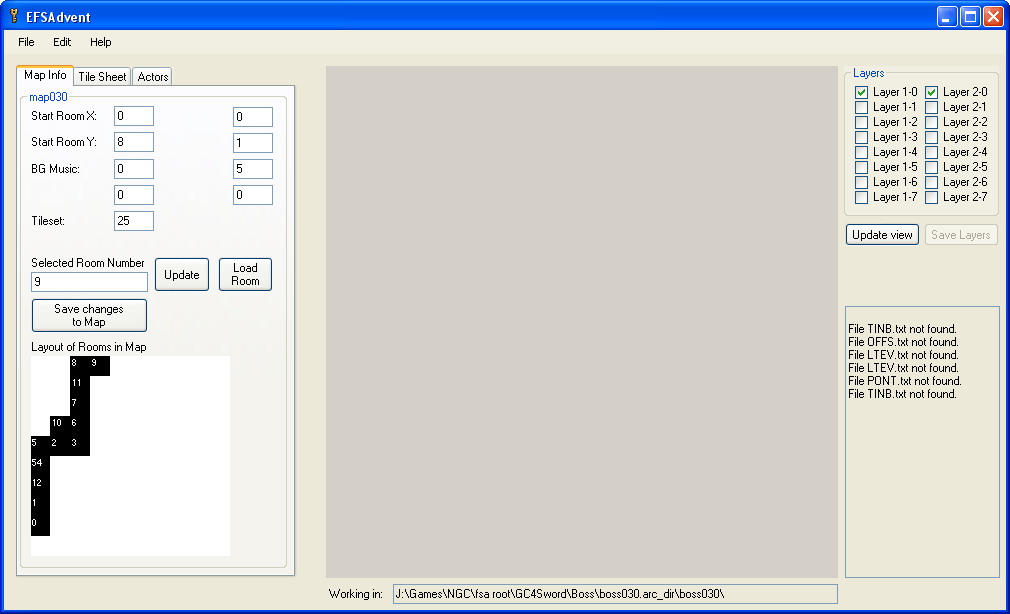
 Map files contain the layout of the rooms/screens within a level and some variables that determine level-wide properties such as the tilesheet used.
Start EFSAdvent and select "File"->"Open" from the menu. Navigate into one of the extracted boss folders' map directory(e.g. boss042.arc_dir\boss042\map) and open one of the .csv files found there.
A .csv file that has "_1" added to it after the name is used by the game if there is only one human player, if there are multiple players then the .csv file without "_1" is used. This is so puzzles that would be hard/impossible for one player can be changed.
The map layout will now appear as a 10x10 grid with the room numbers drawn on top and the map variables will be loaded.
You can change any of the variable numbers and click "Save changes to Map" to instantly save them.
Click on any space in the rooms layout box and that room space will be selected and its number will appear in the "Selected Room Number" textbox. The number 255 represents a NULL entry, it is not a valid room, so you can remove rooms by changing their number to 255.
With a room space selected you can now change the number of the room that appears in this space by typing in a new number and clicking the update button. Again, if you click "Save changes to Map" any changes made will be instantly saved.
Note that Boss500 (the Shadow Battle map) shows the 10 rooms in a vertical list, and doesn't allow editing of map variables. The format of the csv file for this map is different so any variable edits will need to be made manually.
Editing room/screen layer data
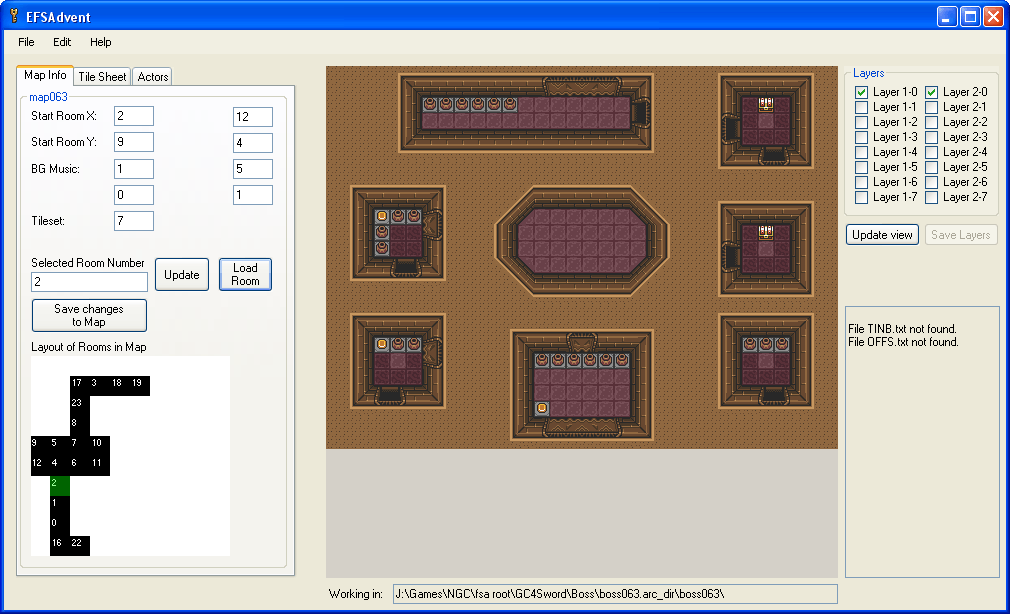
 To edit a room's layer data, select that room's space on the map and click the "Load Room" button.(If the room doesn't have a space assigned to it on the map you can manually input the number in the "Selected Room Number" text box and click "Load Room").
All the layer and actor data for the room will be loaded, however only layers 1-0 and 2-0 will be displayed, and no actors.
Layers 1-x are drawn underneath players and most actors and act as collision data. Layers 2-x complement the 1-x layer with the same second number and are drawn above the lower layer, players and most actors. The 2-x layers are used for things such as the tops of trees which the player can walk under.
Layers x-1 - x-7 are used for areas inside houses, caves, underwater etc.. so it depends on the screen as to whether or not there is any tile data on these layers.
To change which layers are being displayed simply tick or untick the appropriate layer checkboxes. The ticked layers will be drawn in order of left to right, top to bottom.
To change any tile on a layer, simply select the "Tile Sheet" tab and left click on a tile to change it to your currently selected tile (The currently selected tile can be seen at the top right of the "Tile Sheet" tab. When placing a tile only the active layer will be drawn for a moment to help avoid placing on the wrong layer.
To change the currently selected tile left or right click on a tile in the tilesheet. Or, right click a tile from the layer.
The layer that is changed is the "highest" one currently ticked(e.g. 2-0 is higher than 1-0, but lower than 1-1).
From the tilesheet tab you can also switch to Copy/Paste mode. In this mode you can select an area of tiles then copy them with ctrl+c, then click somewhere else and use ctrl+v to paste the copied tiles.
To save any changes you have made click the "Save Layers" button.
Currently the different properties of the tiles such as whether you can walk on/swim/chop/burn that tile are not available. Also, some tiles such as the ones designed for sidescrolling areas will automatically make that entire layer act as a side-scrolling layer if they are used on it.
Editing Actors
 Actors are everything in a level which is not tile data.
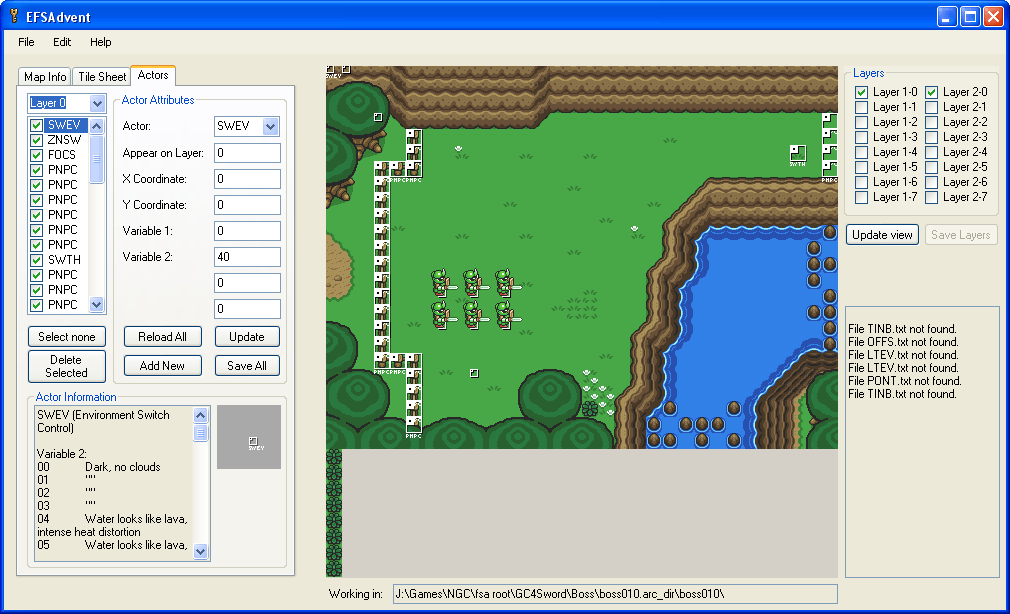
When you load a room its actor data is automatically loaded and can be accessed through the "Actors" tab.
All the actors for the room are displayed as a tickable list. You can select any actor to see its data displayed in the "Actor Attributes" area. Information about the actor and its sprite will be shown below.Currently most actors have no information beyond their name, and no sprite other than the origin marker.
To display an actor tick its checkbox.
To display all the actors for a particular layer, select the layer from the drop down box above the actor list and all actors for that layer will be selected and drawn.
If you make any changes to an actor's attributes click "Save All" to make the changes permanent.
You can also select an actor by left-clicking its origin marker(the white square), if you hold down the left mouse button you can drag the actor around the screen to easily reposition it.
If you mess up any actors you can click "Reload All" to restore the saved actor list.
The "Add New" adds a new AGBW actor to the current layer.
Getting your changes into the game
 Once you have finished editing select "File"->"Export.." from the menu, you will be prompted to save any changes which you can do if you want.
Navigate to the "root\GC4Sword\Boss" folder of the extracted game and save here, replacing the old .arc file of the same name.
Now quit EFSAdvent and drag the root folder onto gcr_v1.0.exe(GC Rebuilder), it will load.
In GC Rebuilder chose "Root"->"Save" from the menu, choose somewhere to save it and give your iso a name.
Then select "Root"->"Rebuild". GC Rebuilder will now rebuild the game iso and incorporate your changed files into it. Once it has finished you can burn/stream/boot the iso and check out your changes in-game!